
Extended Side Angle (Utthita Parsvakonasana)
Find Length Within Strength
Extended Side Angle grows naturally from Warrior 2. Your legs maintain the same strong foundation, but instead of keeping your torso upright, you begin to reach beyond it.
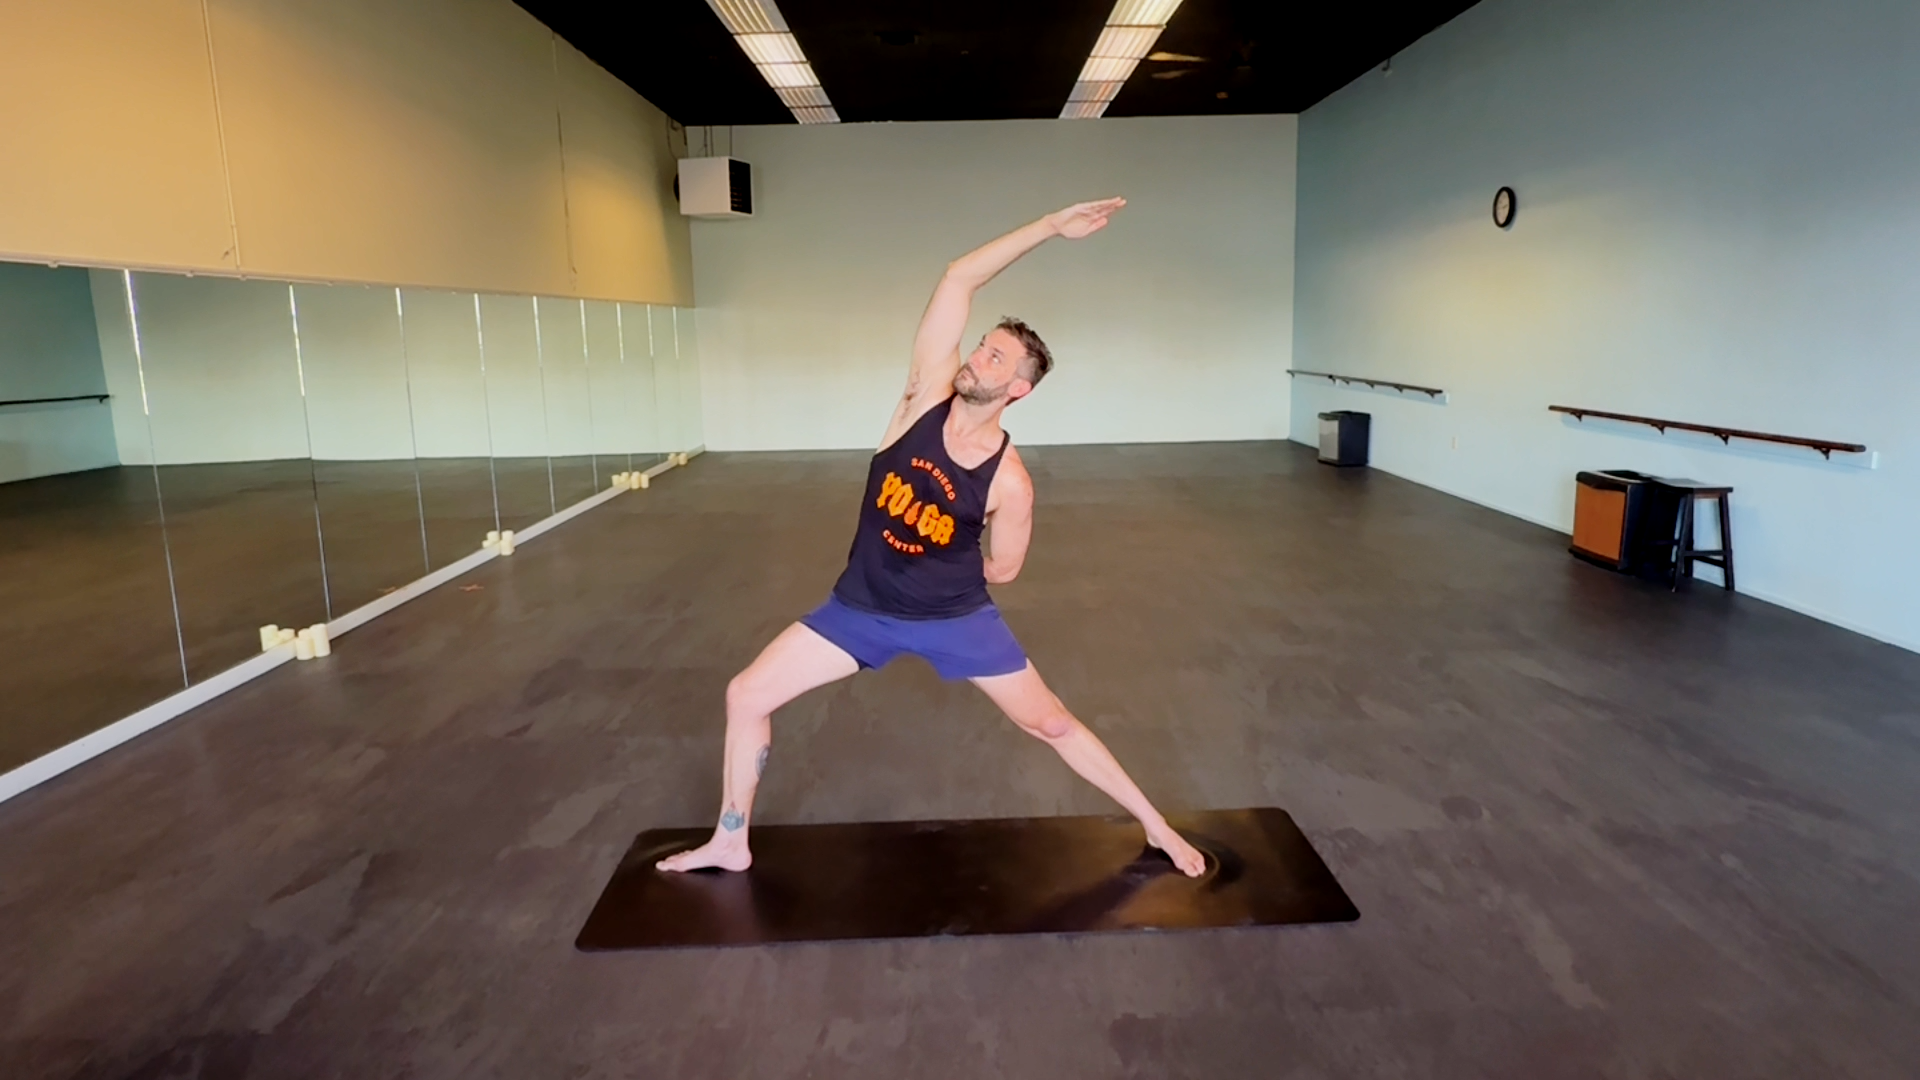
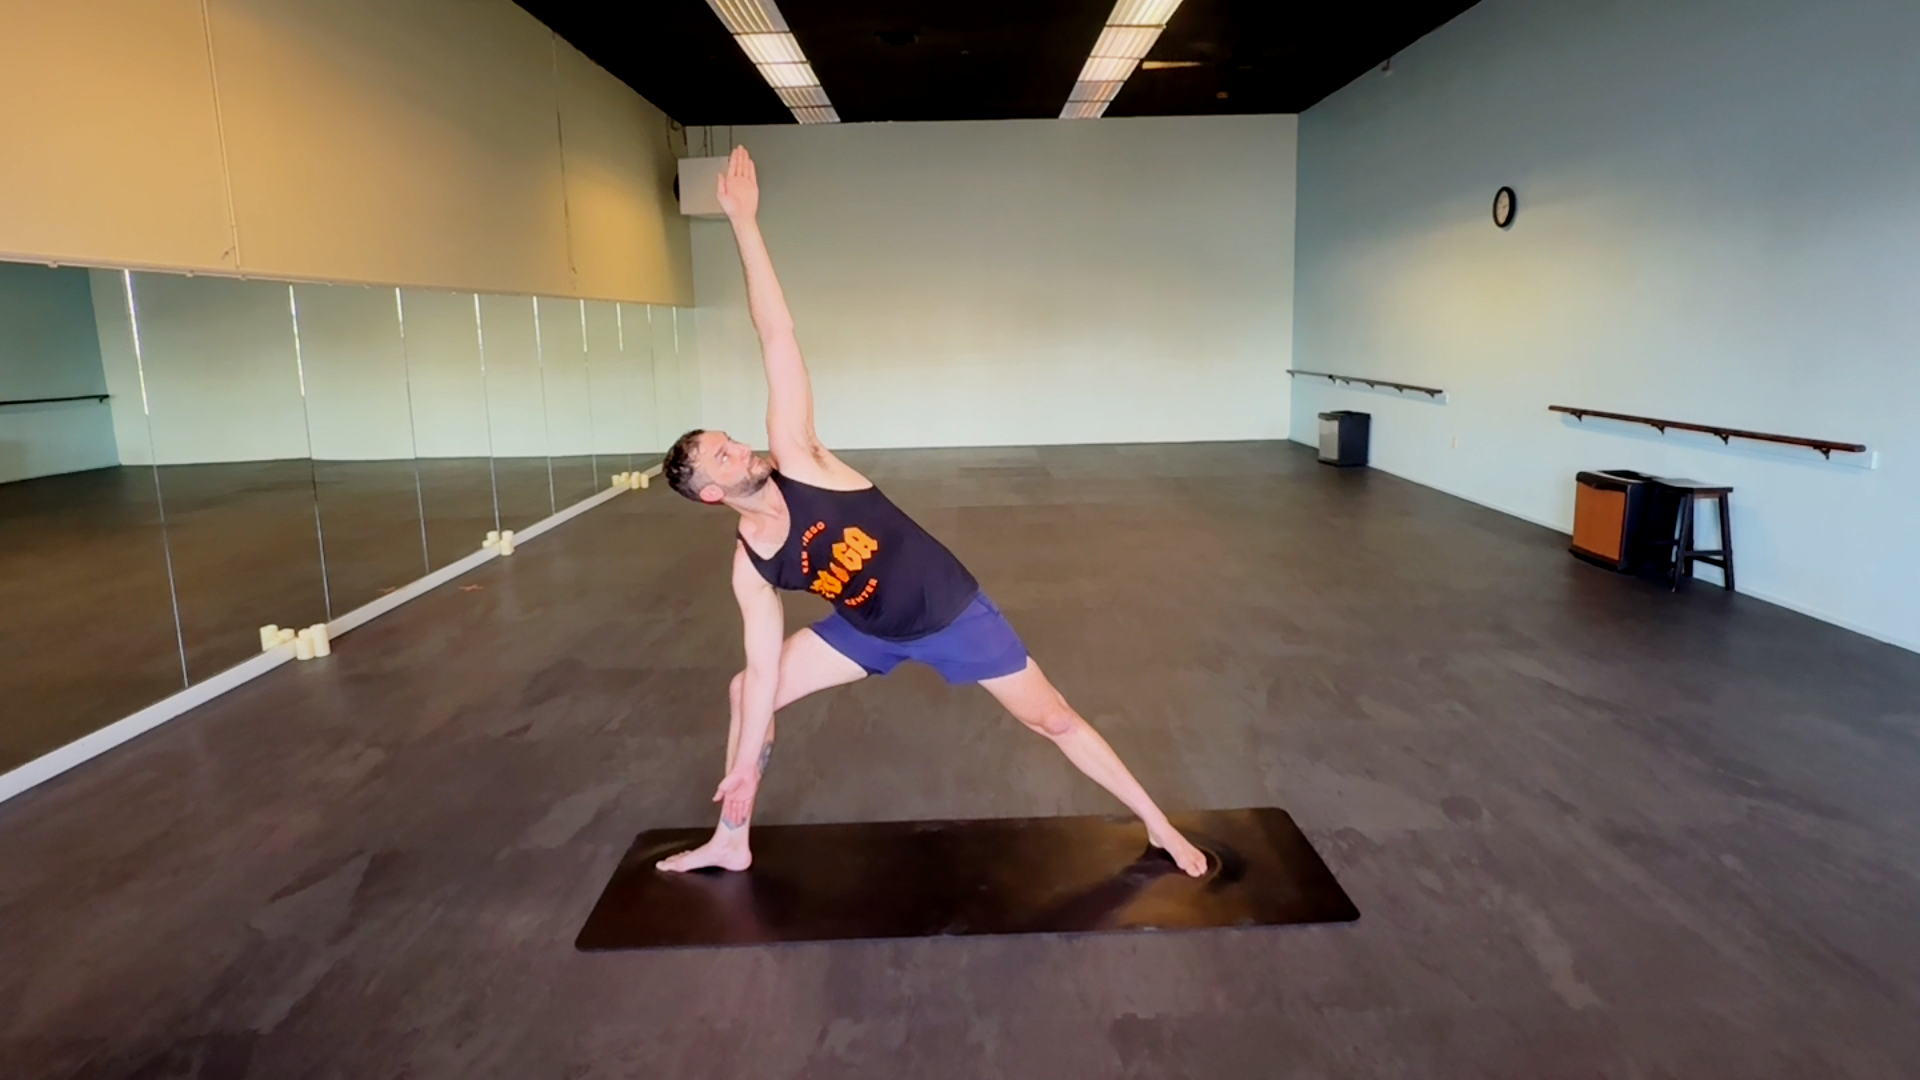
Your front knee stays bent. Your back leg remains active. Your torso extends over your front thigh while your top arm reaches overhead, creating a single line along the side of your body.
On the Warrior’s Path, Extended Side Angle represents reach. Warrior 2 teaches you to claim your space. Extended Side Angle asks you to explore how far you can expand within it without sacrificing the foundation beneath you.
The Meaning Behind Extended Side Angle
In Sanskrit, Utthita means “extended,” Parsva means “side” or “flank,” Kona means “angle,” and Asana, of course, means “pose.” The name describes exactly what the posture creates: an extended angle through the side of your body.
Extended Side Angle is closely connected to Warrior 2. The foundation of your legs remains largely the same, but the orientation of your upper body changes. Instead of extending horizontally through both arms, you reach diagonally across yourself, creating length from the outer edge of your back foot through your top fingertips.
That relationship gives the pose its symbolic power.
Warrior 2 establishes your ground. Extended Side Angle teaches you to use it.
Expansion becomes possible because something beneath you remains stable. Your reach does not pull you away from your foundation. It grows from it.
Symbolically, Extended Side Angle represents purposeful expansion. You are not reaching simply to go farther. You are discovering how much space becomes available when strength and direction work together.
How to Practice Extended Side Angle
1. Begin in Warrior 2
With your right foot forward, bend your front knee and keep it tracking in the same general direction as your toes. Ground firmly through your back foot and extend your arms at shoulder height.
2. Reach Forward
Extend your front arm toward the front of the room, allowing your torso to lengthen over your front thigh before lowering your hand.
3. Place Your Bottom Arm
Bring your right forearm lightly onto your right thigh, or place your right hand on a block or the floor beside your front foot.
Avoid dumping your weight into your bottom arm.
4. Extend Your Top Arm
Reach your left arm overhead alongside your ear. Turn your palm forward and extend through your fingertips.
5. Create One Long Line
Press through the outer edge of your back foot as you reach through your top fingertips. Imagine creating uninterrupted length along the entire left side of your body.
6. Open Your Chest
Rotate your chest upward without letting your front knee or back leg lose its foundation. Keep your shoulders broad and your torso active.
7. Set Your Gaze
Look forward, down, or toward your top hand depending on what feels best for your neck and balance.
8. Breathe and Hold
Stay for 5 to 10 breaths. Continue grounding through your legs while reaching farther through your upper body.
Props and Modifications
Rest your bottom forearm on your front thigh for additional support.
Place a block beneath your bottom hand instead of reaching all the way to the floor.
Keep your top hand on your hip if extending overhead causes shoulder discomfort.
Take a shorter or slightly wider stance if you need more stability.
Straighten your front leg slightly if maintaining a deep bend causes discomfort or compromises your alignment.
Common Misconceptions and Misalignments
Trying to reach the floor at all costs. Your bottom hand does not need to touch the ground for the pose to be complete.
Collapsing into your bottom shoulder. Keep your torso active and create space rather than dumping your weight downward.
Allowing your front knee to collapse inward. Keep it tracking comfortably with your toes.
Losing your back leg as you focus on your upper body. Your back foot and leg remain essential parts of the pose.
Turning the pose into a side bend without length. Reach outward before you reach downward.
Benefits of Extended Side Angle
Physical
Strengthens your legs and glutes.
Stretches your hips and inner thighs.
Creates length through your side body.
Opens your chest and shoulders.
Builds core strength and full-body stability.
Mental and Emotional
Develops concentration and body awareness.
Encourages confidence through expansion.
Builds awareness of the relationship between stability and mobility.
Cultivates the ability to reach beyond your comfort zone without losing your foundation.
Cautions and Considerations
Reduce the bend in your front knee if you experience knee discomfort.
Use a block or your forearm for support if reaching toward the floor compromises your stability.
Modify your top arm if you have shoulder limitations.
Keep your gaze forward or downward if looking upward causes neck discomfort or dizziness.
Prioritize length and support over achieving the deepest possible version of the pose.
The Edge Connection
Your edge in Extended Side Angle exists between grounding and reaching.
The farther you extend through your fingertips, the more important the foundation beneath you becomes. If your back foot loses contact or your front leg stops working, your reach collapses rather than expands.
That relationship extends beyond the physical shape.
How far can you reach without abandoning what keeps you steady? How much can you expand without losing yourself in the pursuit of more? Can you recognize when reaching farther creates possibility and when it simply pulls you away from your foundation?
On the Warrior’s Path, your edge is not measured by distance. It is found in how intentionally you move toward it.
Warrior’s Edge Takeaway
In Extended Side Angle, you embody the reaching warrior.
Warrior 2 taught you to claim your ground. Now you discover what becomes possible from that foundation.
On the Warrior’s Path, this pose reminds you that expansion does not require leaving stability behind. The stronger your roots become, the farther you can reach without losing yourself.
Ground deeply. Extend outward. Reach with purpose.

Crescent Pose is where grounding meets elevation. Unlike Warrior 1, your back heel is lifted, which immediately demands more balance and engagement from your toes. You are not anchored through two flat feet. You are rising from a narrower base.